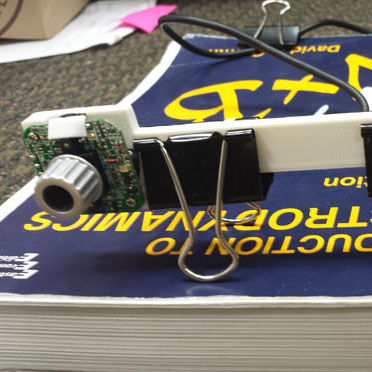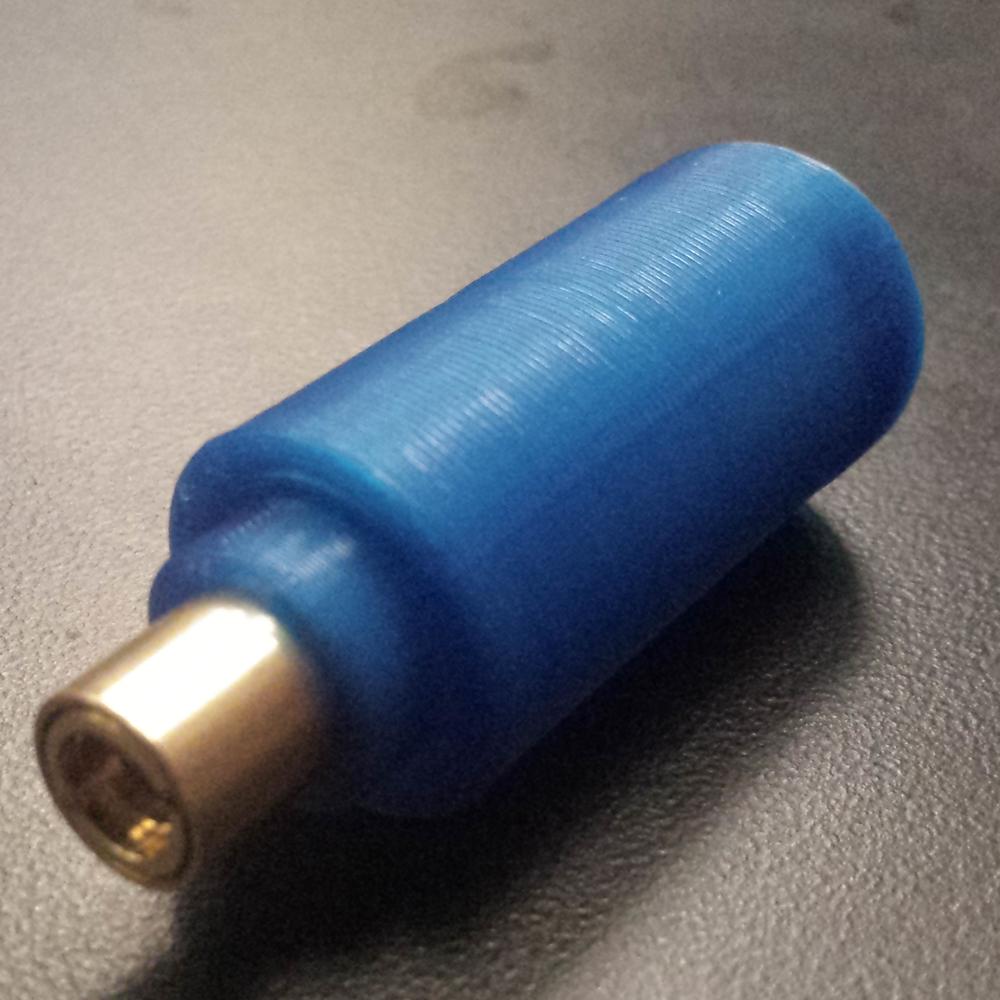
A friend of mine was in need of a set of cheap lasers for a class he was teaching on optics. Instead of using enclosed laser pointers that ran on obscure button cell batteries, he decided to purchase laser diodes and wire them for connection to a benchtop power supply. This allows for a more hands-on approach for the students, getting them more involved in the projects they are working on.
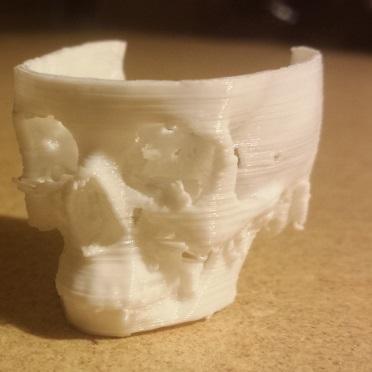
Recently, I have been reading on 3d printing in the medical field. The ability to go beyond a screen allows for visualization and practice of surgery without the patient having to go under the knife. A friend was kind enough to get me a copy of her recent CT scan data so I could attempt to get a 3d-printable object out of it. Using the guide found here, I had little trouble extracting the data, generating a model, and exporting it to an STL file.
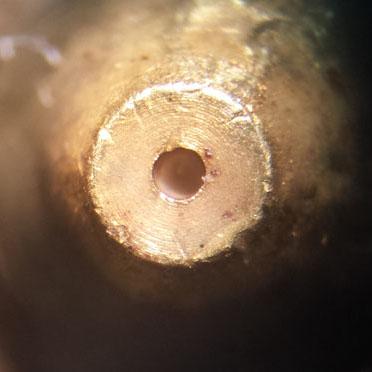
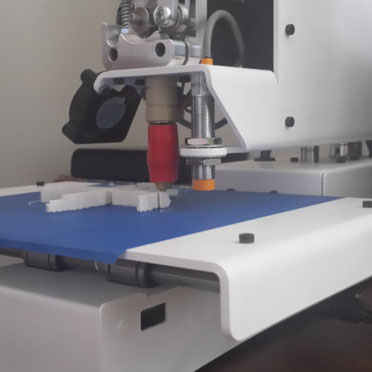
I picked up a new hot end for the Printrbot the other day. This one is modeled after the popular E3D V6 hot end, which has an all-metal design. Unfortunatly, you get what you pay for, and this inexpensive clone oozed out the top and bottom of the heater block. Lesson learned, buy the official tried-and-true equipment. While I was heating things up to remove the stray PLA, I was able to use one of the microscopes in the lab to check out the new 0.
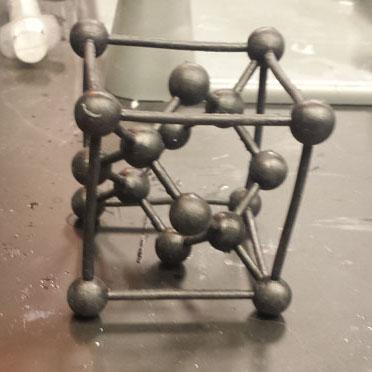
For a demonstration piece, I was sent a model of a silicon unit cell to print. This was an enjoyable endeavor, and lead to an interesting discovery in the post-processing procedure on the Form1+
I ended up printing two of these. One was left in the alcohol bath for 2 days, and when removed, was extremely flexible. While I need to be careful with the timing, the flex should make it more resistant to cracking, especially if the unit cell is being passed around during a demonstration.
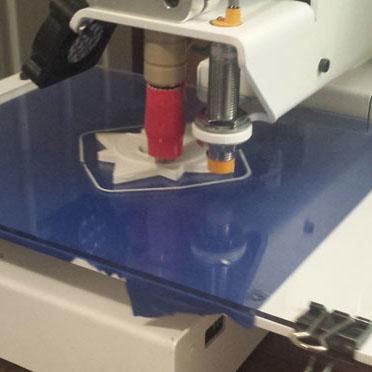
The other day, I was tasked with 3d printing a logo from a nearby company. The design was a simple compass with a superimposed letter “e.” Being such a simple design, I decided to model it directly in AutoDesk Inventor.
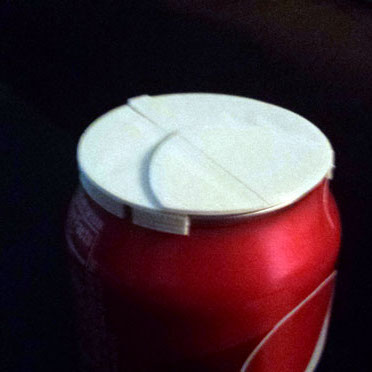
A close friend works at a nearby bee farm, assembling and packing various products to ship out. This manufacturing involves a lot of dust floating around the production floor, and he asked if I could print something that would snap over his soda can to keep the stray particles out. I figured this was a perfect opportunity to practice some 3d CAD and get the printer going.
I intended the first version to simply rotate around the top of the can, protecting the hole from dust.
For a project in my computational physics class, I wanted to create something more than a program. With an old webcam, a pantry turntable, and a cheap laser, I figured I could use MATLAB’s image processing abilities to create proof-of-concept 3d scanner.
By centering the object on the turntable, and projecting the laser line onto the object, I can use the camera to collect images while rotating the object at known intervals.
Here is my newly assembled Printrbot Simple Metal. I ordered the printer as a kit, and assembled it this past weekend. So far, it has proven to be a robust machine. Here is a time lapse of the build: